Using Wordpress on Your Handshake Domain (Yes It is Possible!)
This requires a specific Wordpress hosting company that recognizes the new Handshake protocol. Signup for the Kinsta Wordpress hosting today.
Wordpress dominates the “normal” web, and we are certain many on the “new” web (Handshake) will also want to use Wordpress.
So we are happy to make a video tutorial here at SkyInclude
Shoutout to Mark Smith at Nakesake domains for making the text tutorial (you can read it here)
Now, let’s give our own insights and strategy on doing so, in text form:
First, you’ll need a Kinsta Wordpress hosting plan (currently they are the only ones we have found that support Handshake), you can signup here (using our affiliate link will support future guides and tutorials, at no additional cost to you - so thanks in advance)
After choosing your hosting plan, the web control panel is pretty clear and straight forward. Install a new Wordpress site and give it a name and a domain name.
As this is installing on their server, we didn’t wait (as it took longer than expected, about 1 hour), go to the “Kinsta DNS” section and click “add domain”
Add your domain (SLD + TLD, so domainname.HandshakeTLD) and choose both www and non www option.
I picked “happy.bartenders” as the domain (make sure you own / have the ability to update the “bartenders” DNS)
Once it is there, click on A record (the default tab) and then click into IPv4 address - allow it to auto-fill the IP address, and then you’ll get the IP addresses you need below.
There will be 4.
Navigate to where you can update the Handshake domain (for this video, and most of us in 2020, we are using Namebase.io).
Go to the “manage domain” settings in your Domain Manager.
If you haven’t edited DNS there before, it will have 1 line on the Nameserver section pointing to Namebase’s IP.
Edit or delete that. I simply edited it and changed the IP to the first IP on the list of 4 from Kinsta.
Next, add 3 more NS (name server) records and I simply used ns2, ns3, ns4 for the names (seems those are irrelevant) and then put the corresponding 3 remaining IP addresses from Kinsta in the IP fields.
Click save.


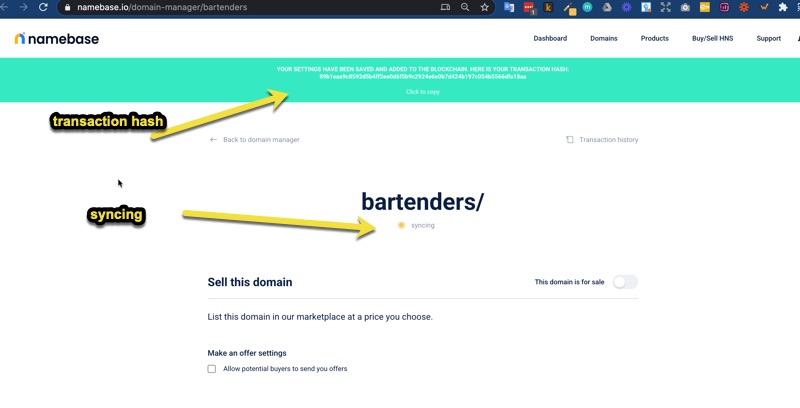
It will give you a success notification and a blockchain transaction ID - as it is now “mining” to update your Handshake TLD’s name server records.
It took over 1 hour and still wasn’t updated for me, so I went to watch Blade Runner movie and then fell asleep. The next morning about 12 hours later, it was fully updated.
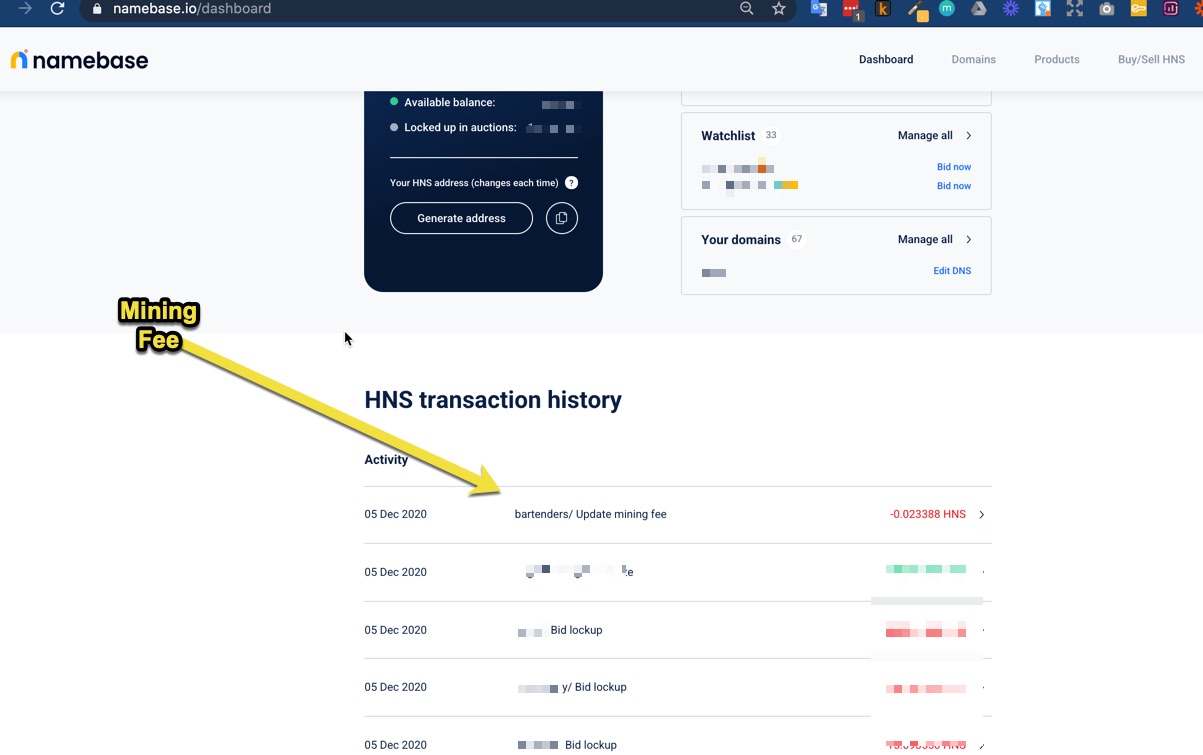
Note, there was a mining fee of approximately 0.02 HNS that Namebase debited from my balance for this update.
Looking at the domain manager, it was successfully updated (green), whereas the night before it was orange and “syncing”.
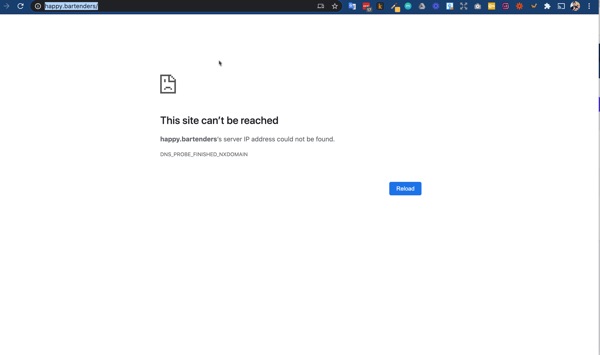
Once it is it updated on the blockchain - you can now access your Wordpress site on the Handshake domain - so for this tutorial we used http://happy.bartender/ and the Wordpress admin is the same as always - http:/happy.bartender/wp-admin
To see this site, you need to currently have extensions that resolve handshake domains, we are using NextDNS.io
Also keep in mind, this is not a secure (https) connection, so don’t use passwords you use on other sites and don’t use the site to collect sensitive payment or personal information.
We hope this tutorial helped you have yet another way to get your Handshake domain hosted and online! We know many prefer the ease of use of Wordpress and are excited to have more people use the domains instead of squat them.
Cheers to the the new internet!

